Executive Summary Up front
To eliminate pizza wheel marks from your digital negatives, use a posterboard media sled to carry the digital negative OHP material printing from the Epson 3880, P800, P700, and P900 manual front feed tray.
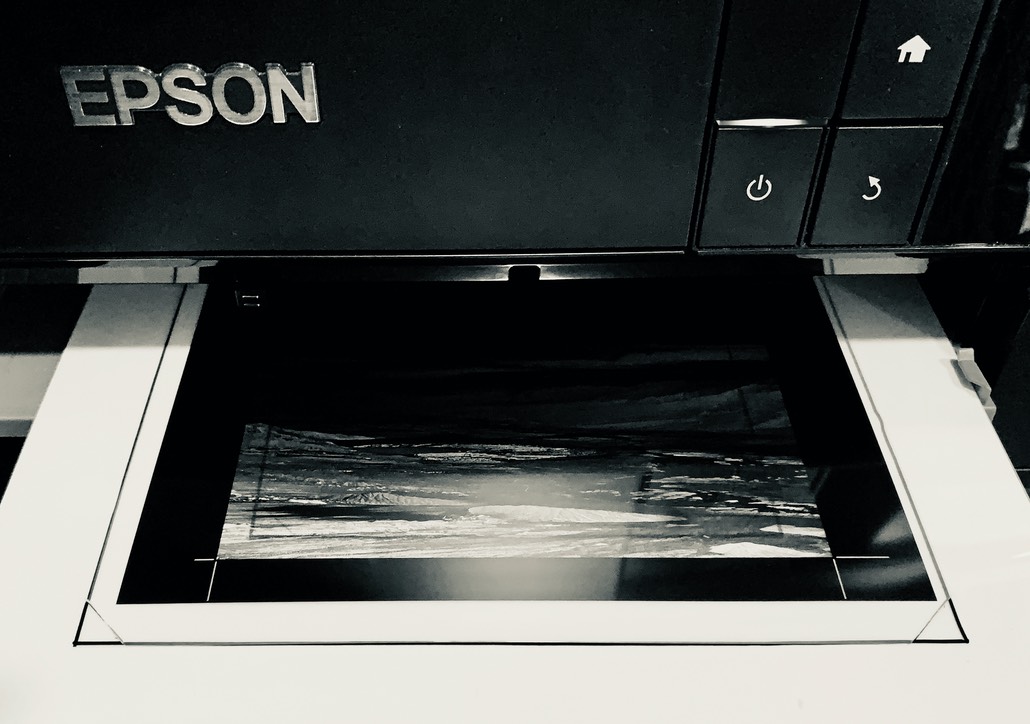
Building a sled
- 1mm matboard or posterboard sled, sized per need
- Base layer OHP material marked with centered outline of expected digital negative OHP sizes
- Cut corner slits into base OHP material at outlines to allow hold down of digital negative OHP corners
- Fully cover the sled with the base OHP material, print side upward to collect stray ink from print overspray
- In print dialog, select the sled size and posterboard option as the ‘size’ to print.
- Install and print the digital negative centered within the selected sled size using the printer’s manual front posterboard feed tray
• Keith Cooper of Northlight Images confirmed the Epson P700 (13”) printer behaves like the P800 in that the front feed tray remains open with pizza wheels disengaged for posterboard media.
• The Epson P900 behaves the same as the P700, with slightly better print resolution than the P800 BTW.
How to Print a Digital Negative
- Build the digital negative image file to be printed
- Print the negative onto a good quality OHP material using the top feed slot
- If printing on a Canon Pro-1000 or Epson 3880 / P600 / P800 / P700 / P900 notice the nice trail of very fine pizza wheel marks running down the negative
- Notice also that these little fine pizza wheel marks are likely seen on your resulting print
- Not Good
The problems started to take place at Step 2 above. These Prosumer photographic printers use a many-set of very fine and sharp star wheels on the outfeed of the print path to assure the printed media remains perfectly aligned throughout the printing feed process. This sound idea in theory falls apart when printing onto highly glossed media and digital negative OHP material. The only cure is to raise these media alignment pizza wheels out of the way.
I’ve documented the pizza wheel issue here: A Word About Printers
https://specialeditionartproject.com/the-special-edition-art/making-of-the-arts/a-word-about-printers.html
Epson 3880, P800, P700, and P900
The solution to this pizza wheel mark issue is to use the front manual feed tray mechanism for feeding thick posterboard media. For these specific printers the star wheels are lifted out of the way when this feed path is used.
Hacks – Epson 3880 & P800
There are hacks for the 3880 & P800 to force the wheels to raise out of the way while using the top media feed - tricking the printer into thinking the front media feed tray is engaged (grey tray dropped into position) when it is not. The problem with this procedure is that the OHP media is now floating as it exits the printhead - forced out of the printer by the rear feed rollers alone. The results are two fold: One is the very real potential for head crashes (it will mess up the non-replaceable print head) as the OHP media floats up into the head on exit, and, two, the need for an extended back end of unprinted material so that the rear feed rollers can safely push the printed portion out from under the print head. While the hacks can be made to work, I do not recommend them.
3880 Hack: https://jkschreiber.wordpress.com/2016/08/08/how-to-disable-star-wheels-on-an-epson-3880/
P800 Hack: https://medium.com/@joswr1ght/epson-p800-pizza-wheel-hack-981275867af0
The Sled Solution
Epson 3880, P800, P700, and P900
The preferred solution embodiment is to use the thick media manual front feed tray as it was intended - for media up to 1.5mm - that being a transport sled for the digital negative media itself. Seems there is about a 10% tollerance margin on the 1.5mm max, so pushing it to 1.6mm is doable without print head crasshes. By staking OHP onto the sled, I was able to push to 1.83mm before getting head strikes.
Using a 1mm thick transport board (matboard or posterboard) covered fully with a base layer of OHP (stackup now ~1.14mm thick) onto which you attach the actual negative OHP to now get a stack up of ~1.28mm thick - still within the 1.5mm limit - the negative OHP material's corners held down under slits cut into the base OHP material. This whole thing is positioned in the printer and printed, all with the pizza wheels lifted out of the way.
The Print Sled
For this buildup example, we will use an 11x17 sled to carry a 5.5x8.5 half sheet or 8.5x11 full sheet of digital negative OHP.
Step 1 - Sled
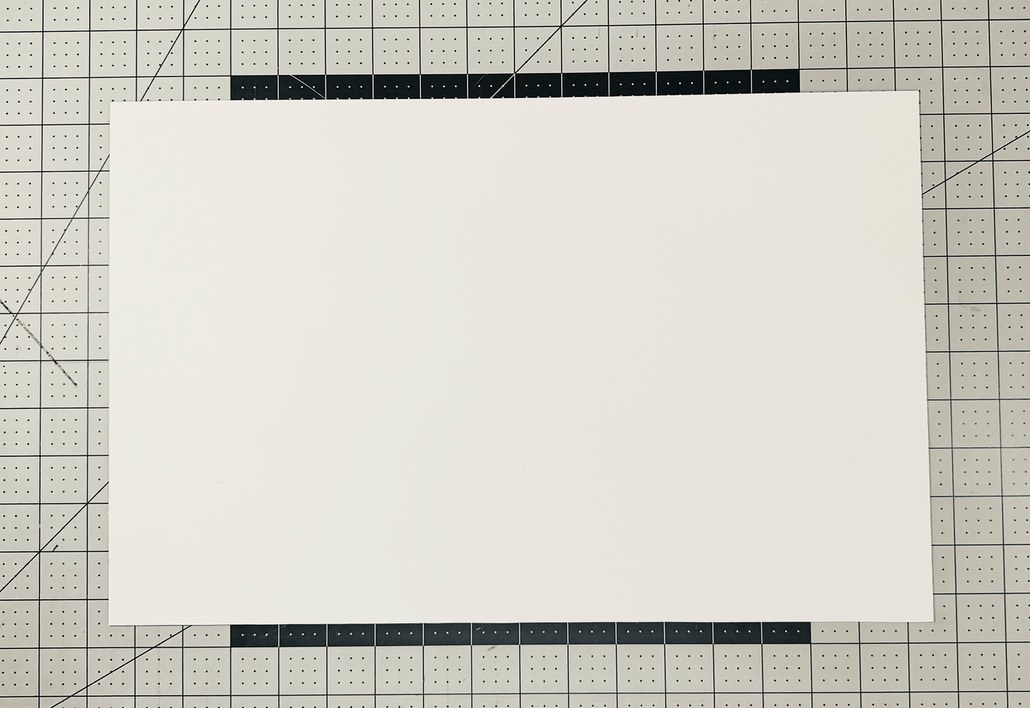
Cut out a 1mm thick 11x17 sheet of matboard to act as the sled carrier. Be careful to keep the edges square and clean.
Step 2 - Base Layer Sheet
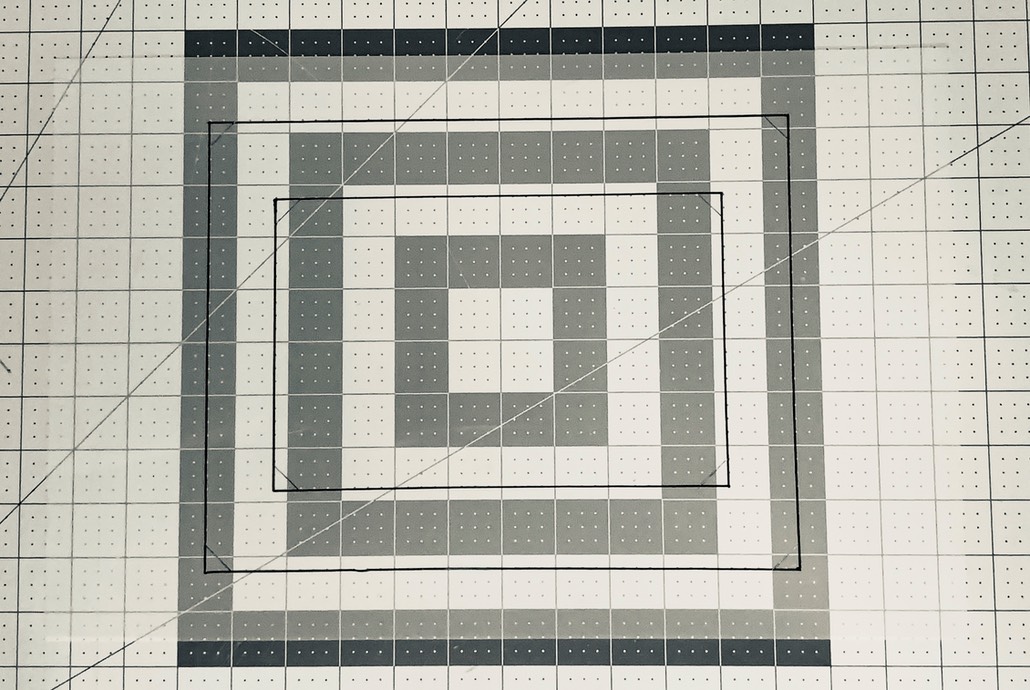
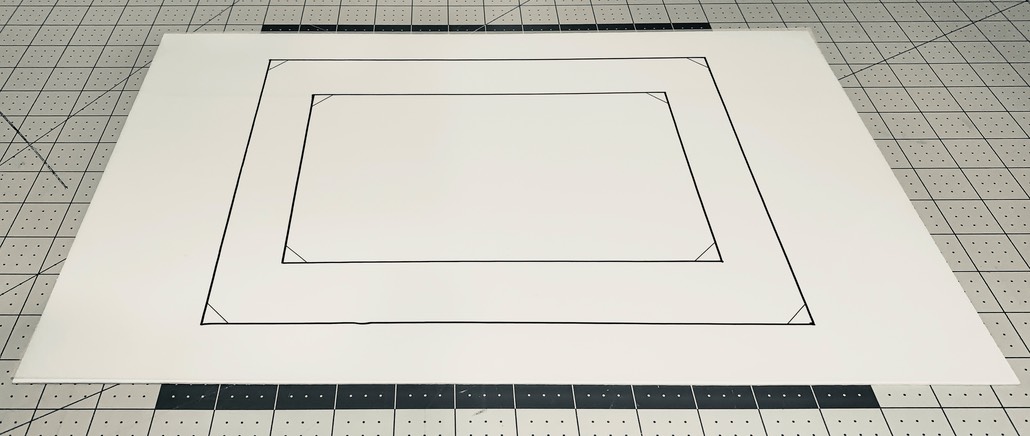
From the center of an 11x17 sized OHP sheet mark the outlines for both the 5.5x8.5 and 8.5x11 digital negative material for placement. With an X-ACTO knife, cut 45 degree 3/4” wide slits in the marked corners. The negative OHP corners will slide into these slits and sit squarely and flat onto the base layer OHP for printing nicely in the center of the sled.
Step 3 - Mating the Two
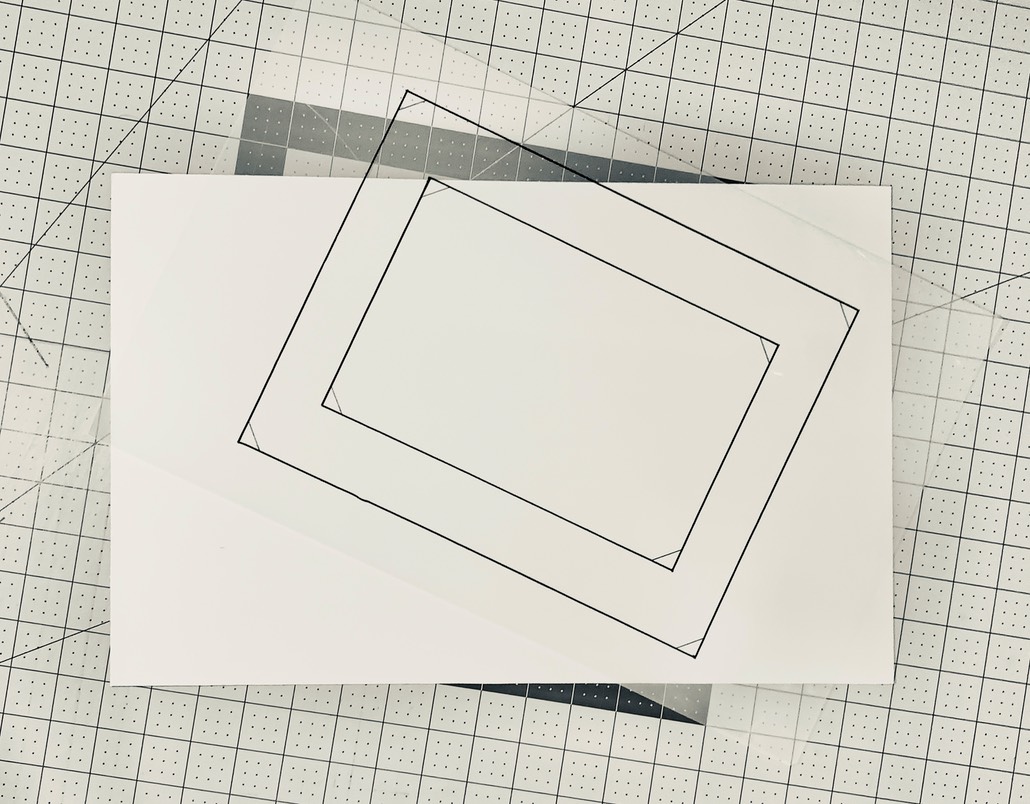
Tightly tape down the 11x17 base sheet of OHP, print side up, perfectly flat onto the sled. This full sized sheet adds thickness, allows the digital negative to be secured by its corners, and takes up stray ink from print overrun mistakes. Keeping this base sheet taped flat and tight against the sled will help to avoid print head strikes.
Printing with the Sled
Step 1 - Carrier
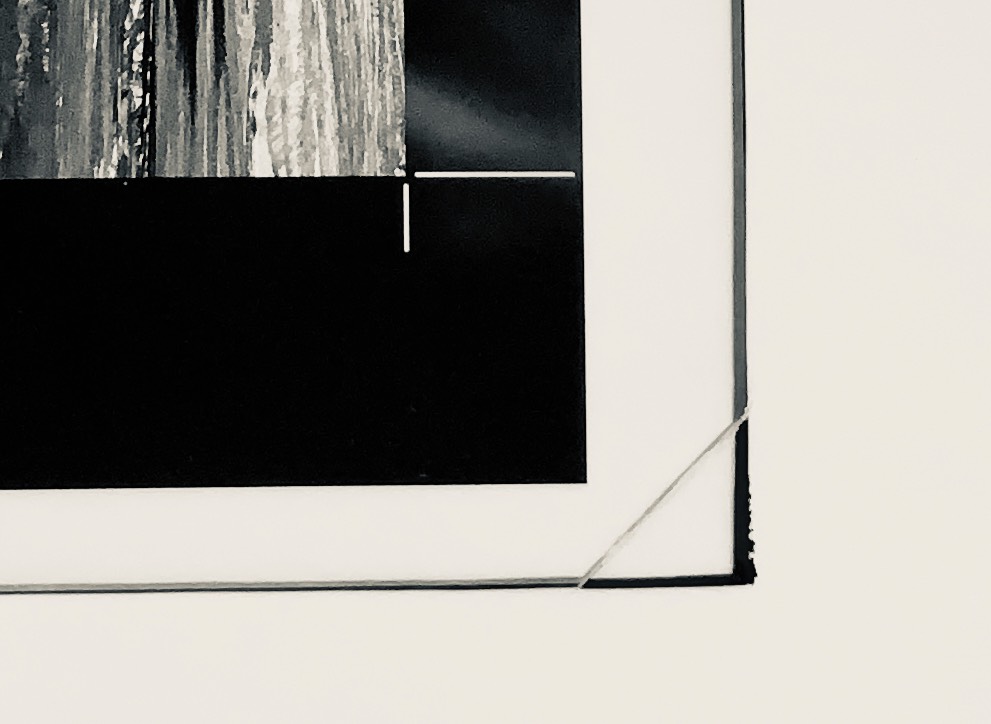
Place digital negative OHP by inserting its corners onto carrier base sheet, holding the negative material flat, square, tight, and centered on the sled.
Step 2 - Loading
Load the carrier squarely into the printer following the printer’s guidance for loading posterboard onto the front manual feed tray. Make sure there is enough space behind the printer for the media to feed through.
Step 3 - Size Settings
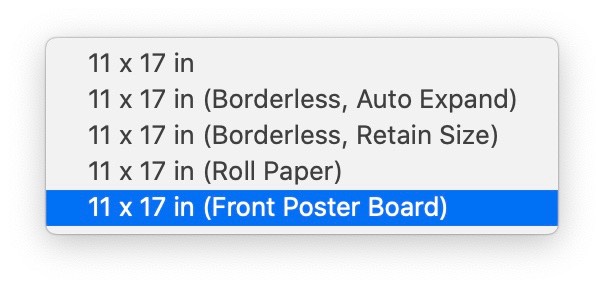
In the printer’s paper size dialog, select the sled’s ‘11 x 17 in’ paper size and choose the ‘11 x 17 in (Front Poster Board)’ option. By default the printed image will be centered within the selected sled paper size. Be sure the area to be printed falls within the size and orientation of the negative material being used. To date I’ve found no indication that the special media settings for Platen Gap and Paper Thickness make a material difference when using the manual front feed media path.
Step 4 - Paper Settings
I traditionally set Photoshop to own color management using the standard Epson Photo Luster profile, setting the printer’s media type to photo luster as well. Set these per your normal workflow.
Step 5 - Print!
Watch as a beautiful digital negative feeds out the front on its sled carrier with no pizza wheel marks.
One Look is Worth Ten Thousand Words
Sled Baseboard – 11x17
Base Layer Sheet OHP – 11x17
Marked with 5.5x8.5 half sheet & 8.5x11 full sheet
The Mated Pair
Print Size Dialog
Held Down Corner of Digital Negative
Printed Digital Negative

